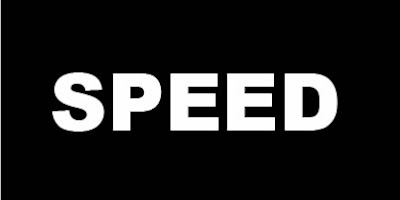
Step Two: Now go filters> Blur> Gaussian Blur and set it between 1.0 an 1.5.

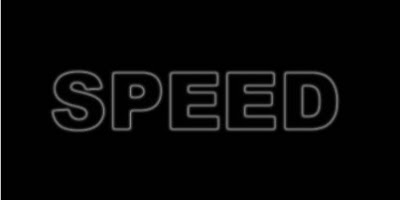
Step Three: Next we need Filters> Stylize> Solarize. Your text looks like this!
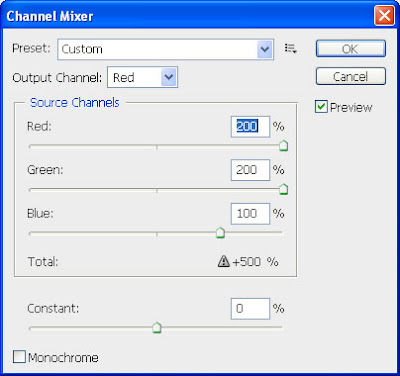
Step Four: Then use image => Adjustment => Channel Mixer and set the values like below.
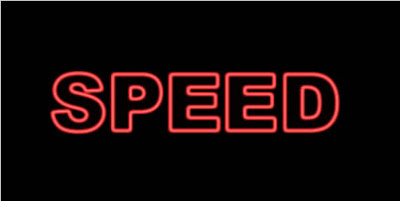
After putting the values in Channel Mixer, your text looks like!
Step Five: Now go Filters> Distort > Polar Coordinates and choose the lower -Polar to Rectangular- radio button.
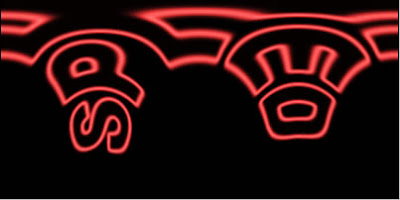
Step Six: Now go to Image> Rotate Canvas> 90°CCW. Next we apply Filters> Stylize> Wind - from left -you may use it two times; depending on your image size.
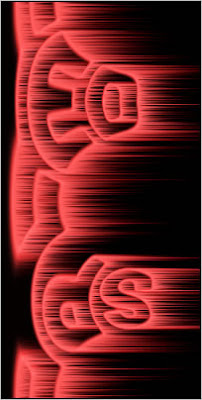
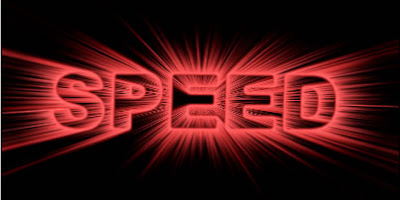
Step Seven: Then go to image-rotate canvas 90°CW. Now go again Filters> Distort> Polar Coordinates and this time choose the upper -Rectangular to Polar- radio button. And Your Speed Type Text Looks like a great effect!
No comments:
Post a Comment